[Android] kizitonwose/Calendar, 캘린더 라이브러리 사용기 #2
[Android] kizitonwose/Calendar 캘린더 라이브러리 사용기 #1GitHub - kizitonwose/Calendar: A highly customizable calendar view and compose library for Android and Kotlin Multiplatform.A highly customizable calendar view and compose library for And
ogyong.tistory.com
kizitonwose/Calendar, 캘린더 라이브러리 사용기 #2는 View 기반으로 작업을 하였다. 이번에는 Compose를 기반으로 사용해 봤다. Compose로 사용하는 방법에 대해서도 정리가 잘 되어 있어서 큰 어려움 없이 적용할 수 있었다. (Compose 기반 설명서)
◾ 임시 데이터 설정
class MainActivity : AppCompatActivity() {
    private var sampleList = listOf<SampleData>()

    override fun onCreate(savedInstanceState: Bundle?) {
        super.onCreate(savedInstanceState)
        enableEdgeToEdge()
        setContent {
            Box(
                modifier = Modifier
                    .fillMaxSize()
                    .background(Color.White)
                    .windowInsetsPadding(WindowInsets.systemBars)
            ) {
                setSampleData()
                MainScreen(sampleList)
            }

        }
    }

    private fun setSampleData() {
        val today = LocalDate.now()
        val formatter = DateTimeFormatter.ofPattern("yyyy-MM-dd")
        sampleList = (0 until 50).map { i ->
            SampleData(
                total = Random.nextInt(10, 100),
                date = today.minusDays(i.toLong()).format(formatter)
            )
        }
    }
}
UI 작업은 MainScreen에서 하는데, 그전에 임시 데이터 설정을 MainActivity에서 전달해 줬다.
◾ CalendarView 적용하기
@Composable
fun MainScreen(sampleList: List<SampleData> = listOf()) {
val currentMonth = remember { YearMonth.now() }
val startMonth = remember { currentMonth.minusMonths(2) }
val endMonth = remember { currentMonth.plusMonths(0) }
val daysOfWeek = remember { daysOfWeek() }
// 60일 전과 오늘 이후 날짜 사용 금지
val today = LocalDate.now()
val agoDate = today.minusDays(60)
val calendarState = rememberCalendarState(
startMonth = startMonth,
endMonth = endMonth,
firstVisibleMonth = currentMonth,
firstDayOfWeek = daysOfWeek.first()
)
HorizontalCalendar(
state = calendarState,
dayContent = {
Day(
day = it,
sampleList = sampleList,
useDate = !it.date.isBefore(agoDate) && !it.date.isAfter(today),
)
}
)
}
@Composable
fun Day(
day: CalendarDay,
sampleList: List<SampleData>,
useDate: Boolean,
) {
val count = sampleList.find { it.date == day.date.toString() }?.total?:0
Box(
modifier = Modifier.aspectRatio(1f),
contentAlignment = Alignment.Center
) {
Column {
Text(
modifier = Modifier.align(Alignment.CenterHorizontally),
text = day.date.dayOfMonth.toString(),
color =
if(useDate) {
colorResource(R.color.black)
} else {
colorResource(R.color.colorGray)
},
style = CalendarTheme.bodyMedium
)
if(useDate) {
Text(
text = "${count}건",
color = colorResource(R.color.colorPurple),
style = CalendarTheme.bodySmall
)
}
}
}
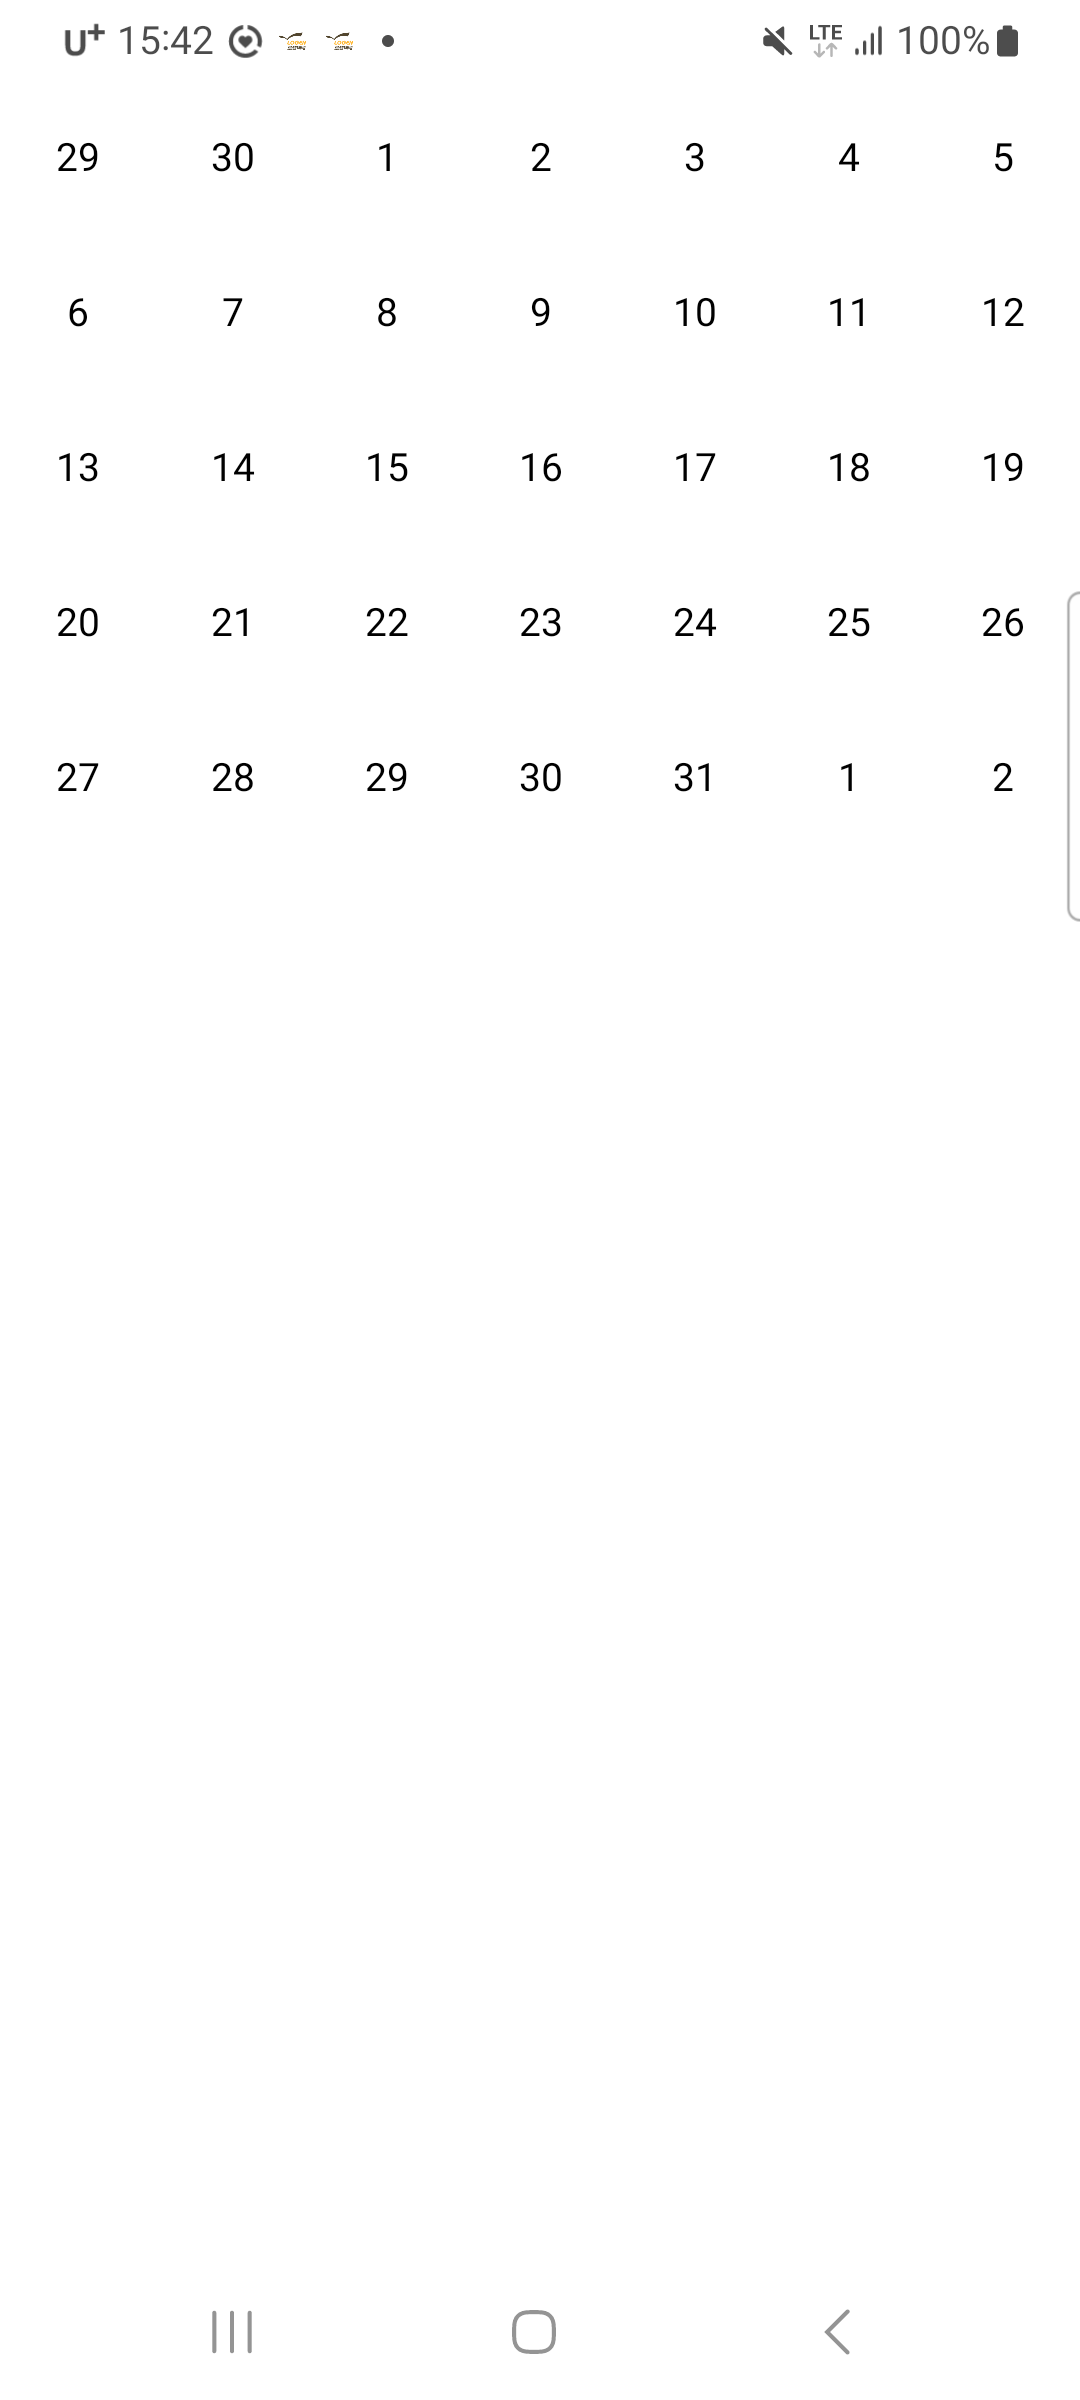
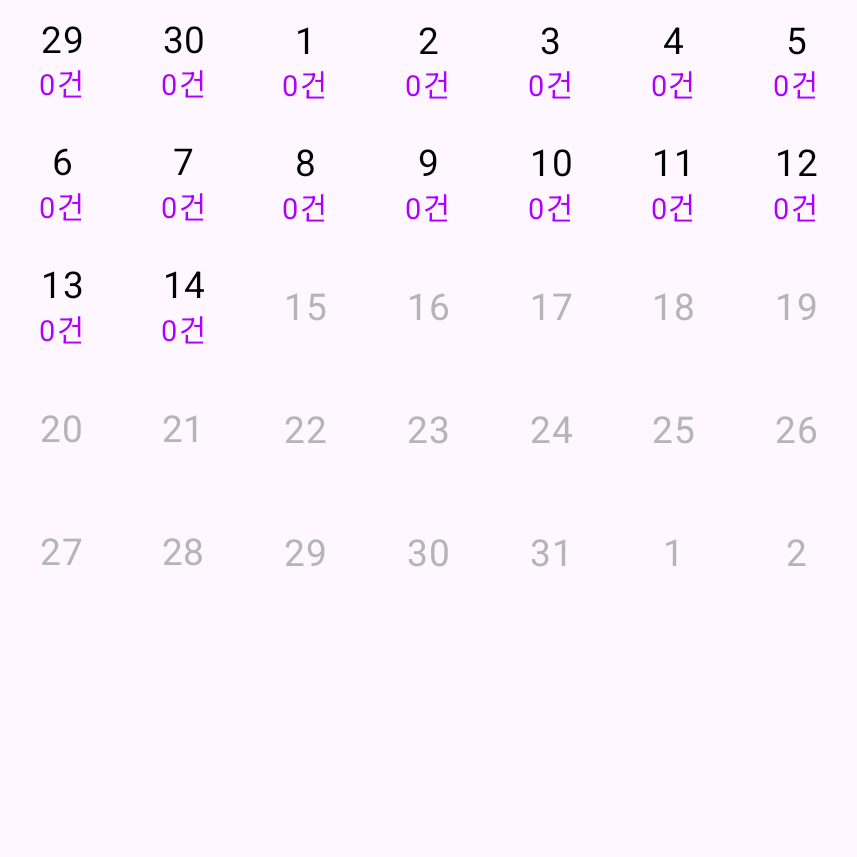
}우선 설명서의 내용에 따라 기본적인 세팅을 했다. currentMonth에 minusMonths를 2, plustMonths를 0으로 하여 CalendarView의 스크롤을 제한했다. 그리고 60일 전과 오늘 이후 날짜에 대한 영역을 비활성화가 되도록 useDate를 만들었다.
◾ 요일 표시하기
@Composable
fun MainScreen(sampleList: List<SampleData> = listOf()) {
// 생략
HorizontalCalendar(
state = calendarState,
dayContent = {
Day(
day = it,
sampleList = sampleList,
useDate = !it.date.isBefore(agoDate) && !it.date.isAfter(today),
)
},
monthHeader = { month ->
val daysOfWeek = month.weekDays.first().map { it.date.dayOfWeek }
Week(daysOfWeek = daysOfWeek)
}
)
}
@Composable
fun Week(daysOfWeek: List<DayOfWeek>) {
Row(modifier = Modifier.fillMaxWidth()) {
for (dayOfWeek in daysOfWeek) {
Text(
modifier = Modifier.weight(1f),
text = dayOfWeek.getDisplayName(TextStyle.SHORT, Locale.getDefault()),
color = colorResource(when(dayOfWeek) {
DayOfWeek.SUNDAY -> {
R.color.colorRed
}
DayOfWeek.SATURDAY -> {
R.color.colorBlue
}
else -> {
R.color.colorDarkGray
}
}),
style = CalendarTheme.titleMedium
)
}
}
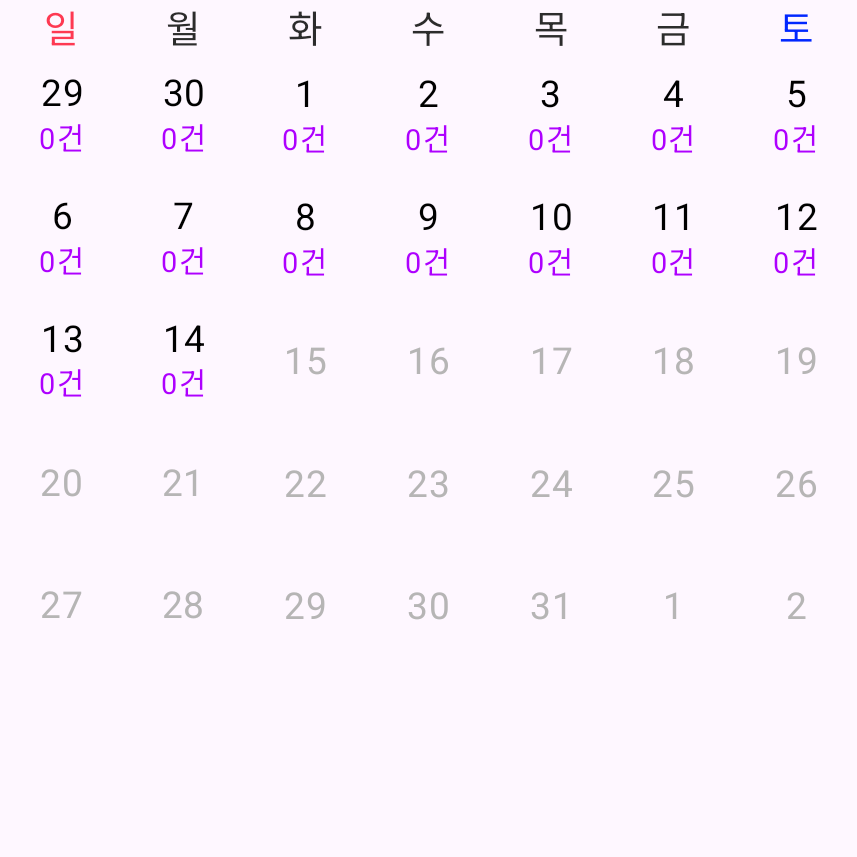
}HorizontalCalendar의 monthHeader를 통해 캘린더의 머리글을 정할 수 있는데, 요일명을 넘겨줘서 요일을 표시했다. 요일을 표시할 때 일요일과 토요일은 컬러를 각각 빨간색과 파란색으로 했다.
◾ 연, 월 타이틀 표시하기
@Composable
fun MainScreen(sampleList: List<SampleData> = listOf()) {
    // 생략

    val calendarState = rememberCalendarState(
        startMonth = startMonth,
        endMonth = endMonth,
        firstVisibleMonth = currentMonth,
        firstDayOfWeek = daysOfWeek.first()
    )

    Column {
        YearMonthTitle(calendarState)
        HorizontalCalendar(
            // 생략
        )
    }
}

@Composable
fun YearMonthTitle(calendarState: CalendarState) {
    val yearMoth = calendarState.firstVisibleMonth.yearMonth.toString()
    Text(
        modifier = Modifier.fillMaxWidth(),
        textAlign = TextAlign.Center,
        text = yearMoth,
        style = CalendarTheme.titleLarge,
        color = colorResource(R.color.black)
    )
}
rememberCalendarState는 값이 업데이트되는 것을 감지하여 리 컴포지션을 해준다. 리 컴포지션이 되는 것을 이용하여 연도와 월을 표시했다. firstVisibleMonth는 CalendarView에 표시되는 첫 번째 달 값이라고 한다.

◾ 날짜 선택
@Composable
fun MainScreen(sampleList: List<SampleData> = listOf()) {
    // 생략

    var selectedDate by remember { mutableStateOf<LocalDate?>(null) }

    Column {
        YearMonthTitle(calendarState)
        HorizontalCalendar(
            modifier = Modifier.padding(top = 10.dp),
            state = calendarState,
            dayContent = {
                Day(
                    day = it,
                    sampleList = sampleList,
                    isSelected = selectedDate == it.date,
                    useDate = !it.date.isBefore(agoDate) && !it.date.isAfter(today),
                    onClick = { calendarDay ->
                        selectedDate = if(selectedDate == it.date) null else it.date
                    }
                )
            },
            monthHeader = { month ->
                val daysOfWeek = month.weekDays.first().map { it.date.dayOfWeek }
                Week(daysOfWeek = daysOfWeek)
            }
        )
    }
}

@Composable
fun Day(
    day: CalendarDay,
    sampleList: List<SampleData>,
    isSelected: Boolean,
    useDate: Boolean,
    onClick: (CalendarDay) -> Unit
) {
    val count = sampleList.find { it.date == day.date.toString() }?.total?:0

    Box(
        modifier = Modifier
            .aspectRatio(1f)
            .background(
                color = if (isSelected) colorResource(R.color.colorPurple) else Color.Transparent
            )
            .clickable(
                enabled = useDate,
                onClick = { onClick(day) }
            ),
        contentAlignment = Alignment.Center
    ) {
        Column {
            Text(
                modifier = Modifier.align(Alignment.CenterHorizontally),
                text = day.date.dayOfMonth.toString(),
                color =
                    if(useDate) {
                        if(isSelected) colorResource(R.color.white)
                        else colorResource(R.color.black)
                    } else {
                        colorResource(R.color.colorGray)
                    },
                style = CalendarTheme.bodyMedium
            )

            if(useDate) {
                Text(
                    text = "${count}건",
                    color =
                        if(isSelected) colorResource(R.color.white)
                        else colorResource(R.color.colorPurple),
                    style = CalendarTheme.bodySmall
                )
            }
        }
    }
}
날짜 클릭과 선택 해제를 위해서 MainScreen에는 selectedDate 변수를 추가하고, Day UI에 isSelected와 onClick을 매개변수로 추가했다.

Android_Study/Calendar by Kizitonwose at calendar-by-kizitonwose-step3 · OhGyong/Android_Study
안드로이드 개발 공부. Contribute to OhGyong/Android_Study development by creating an account on GitHub.
github.com
'Android > UI' 카테고리의 다른 글
| [Android] Clip 속성 알아보기: ClipChildren, ClipToOutline, ClipToPadding (0) | 2026.02.11 |
|---|---|
| [Android] kizitonwose/Calendar, 캘린더 라이브러리 사용기 #2 (6) | 2025.07.11 |
| [Android] kizitonwose/Calendar, 캘린더 라이브러리 사용기 #1 (1) | 2025.07.08 |
| [Android][Compose] Material2→Material3의 Typography (0) | 2023.05.26 |
| [Android] SplashScreen 사용하기 (0) | 2023.04.16 |